이번에는 Api 통신으로 Vuex의 State 값을 갱신하는 것까지 해보자.
Api 통신은 https://reqres.in 요 사이트를 이용한다.
Axios
$ npm install --save-dev axiosAxios 설치 & 의존성 추가.
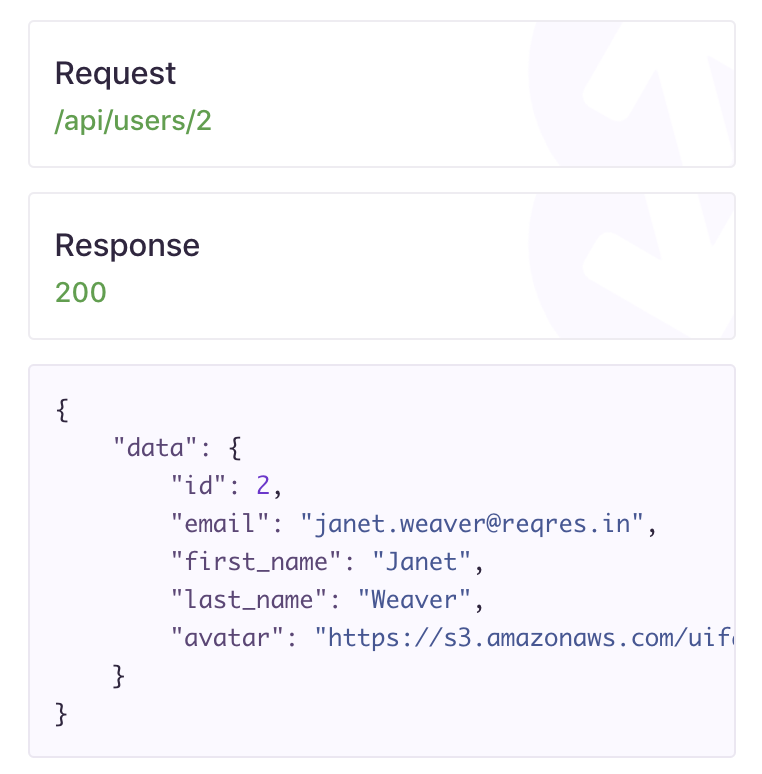
reqres 사이트에서 제공하는 api중 위 API를 사용해보자.
// src/types/user.ts
export interface UserResponse {
    data: User;
}

export interface User {
    id: number;
    email: string;
    first_name: string;
    last_name: string;
    avatar: string;
}
응답값을 보고 응답값에 맞는 인터페이스를 만든다.
// src/api/reqres.ts
import axios, { AxiosPromise } from 'axios';
import { UserResponse } from '@/types/user';

// reqres 사이트와 통신에 사용할 axios 객체 하나만들어두고 재사용하기
const reqresApi = axios.create({
    baseURL: 'https://reqres.in', // Url
    timeout: 5000 // timeout 5초
});

// userId를 파라미터로 받아서 API 통신으로 user 데이터 가져오기
export function fetchUser(id: number): AxiosPromise<UserResponse> {
    return reqresApi.get(`/api/users/${id}`);
}
API request는 /api/users/{userId} 이다.
Axios는 axios.get 으로 바로 사용할수 있지만 url이나 header, timeout 등 재사용될 설정들이 중복될 경우를 대비하여 axios.create 로 미리 설정들을 세팅해서 사용했다.
다른 컴포넌트에서는 fetchUser 함수를 임포트해서 사용하면 api 통신 결과를 받아올 수 있다.
// src/store/modules/reqres.ts

import { User, UserResponse } from '@/types/user';

export const namespaced = true;

interface State {
    user: User | null;
}

// user 데이터를 가지고 있는 Reqres 모듈
export const state: State = {
    user: null
}
일단 user데이터를 가지고 있는 Vuex 모듈을 하나 만든다.
default는 null로 설정했다.
Vuex의 state는 많은 컴포넌트에서 접근이 가능하기 때문에 관리를 위해 다이렉트로 갱신이 불가능하다.
this.$store.state.reqres.user = new User();
위와 같이 다이렉트로 갱신하면 안됨.
Vuex는 단방향 데이터 흐름을 가진다.
State를 수정할 수 있는 방법은 Mutation, Action이 있다.
Mutation은 동기적으로 state를 변경시키고자 할 때 사용한다.
Action은 비동기적으로 state를 변경시키고자 할 때 사용한다.
Mutation
앞서 말했듯이 Mutation은 state를 동기적으로 변경시킬 때 사용한다.
// src/store/modules/reqres.ts

// add mutation
export const mutations = {
    // state의 user를 파라미터로 받아온 데이터로 갱신
    SET_USER(state: State, user: User): void {
        state.user = user;
    }
}
SET_USER mutation 함수는 user라는 파라미터를 받아서 state의 user를 갱신한다.
this.$store. commit ('reqres/SET_USER') 으로도 호출할 수 있다.
Action
Action은 state를 비동기적으로 변경시킨다.
비동기적으로 동작하는 외부 통신 같은 경우는 Action을 사용한다.
// src/store/modules/reqres.ts

// add
import { fetchUser } from '../../api/reqres';
import { AxiosResponse } from 'axios';

// add
export const actions = {
    async fetchUser({ commit }: any, id: number) { // id를 받는다.
        console.log('call fetchUser');
        await fetchUser(id) // api 통신
            .then((response: AxiosResponse<UserResponse>) => {
                const user: User = response.data.data;
                console.log(user);
                commit('SET_USER', user); // mutation 으로 state 갱신
            })
            .catch((e: Error) => { throw e; })
    }
};
action 함수는 위와 같다.
코드를 보면 알다시피 state 값을 갱신하기 위해 결국은 mutation 함수를 호출한다.
즉, Action -> Mutation -> State 갱신 순이다. (단방향 데이터 흐름)
Action은 this.$store. dispatch ('reqres/fetchUser') 로도 호출할 수 있다.
fetchUser action을 호출하는 Component 추가.
// src/components/Reqres.vue

<template>
  <div>
    <h1>User Data</h1>

    // user가 있다면 -> 정보 출력
    <div v-if="user != null">
      id : {{ user.id }}<br>
      email : {{ user.email }}<br>
      first_name : {{ user.first_name }}<br>
      last_name : {{ user.last_name }}<br>
      avatar : {{ user.avatar }}<br>
    </div>

    // user가 없는 경우
    <div v-else>
      user is Null
    </div>

    // /api/users/2 api 통신
    <button @click="fetchUser(2)">
      action 호출
    </button>
  </div>
</template>

<script lang="ts">
import { Vue, Component } from 'vue-property-decorator';
import { mapActions } from 'vuex';
import { State } from 'vuex-class';
import { User } from '@/types/user';

@Component({
    methods: {
    ...mapActions('reqres', ['fetchUser']) // action 가져오기
    }
})
export default class Reqres extends Vue {
    @State('user', {namespace: 'reqres'})
    private user!: User
}
</script>
확인용 컴포넌트를 위와 같이 만들었다.
버튼을 클릭할 때 action -> axios (api 통신) --성공--> action -> mutation -> state (user update) 흐름으로 user가 갱신된다.


처음에는 왼쪽과 같이 "user is Null" 이 출력되고 "action 호출" 버튼을 누르면 데이터를 받아와서 오른쪽과 같이 화면에 뿌려준다.
참고 깃허브 : add Axios, Mutation, Actions
'Front-End (web) > Vue.js Typescript' 카테고리의 다른 글
| [Vue.js/Typescript] 7. Props, Emit (0) | 2019.08.14 |
|---|---|
| [Vue.js/Typescript] 6. ES Lint (0) | 2019.08.10 |
| [Vue.js/Typescript] 5. Popup (0) | 2019.08.08 |
| [Vue.js/Typescript] 4. Vue-router (0) | 2019.03.11 |
| [Vue.js/Typescript] 3. Vuex - State, Getter (0) | 2019.01.26 |


댓글